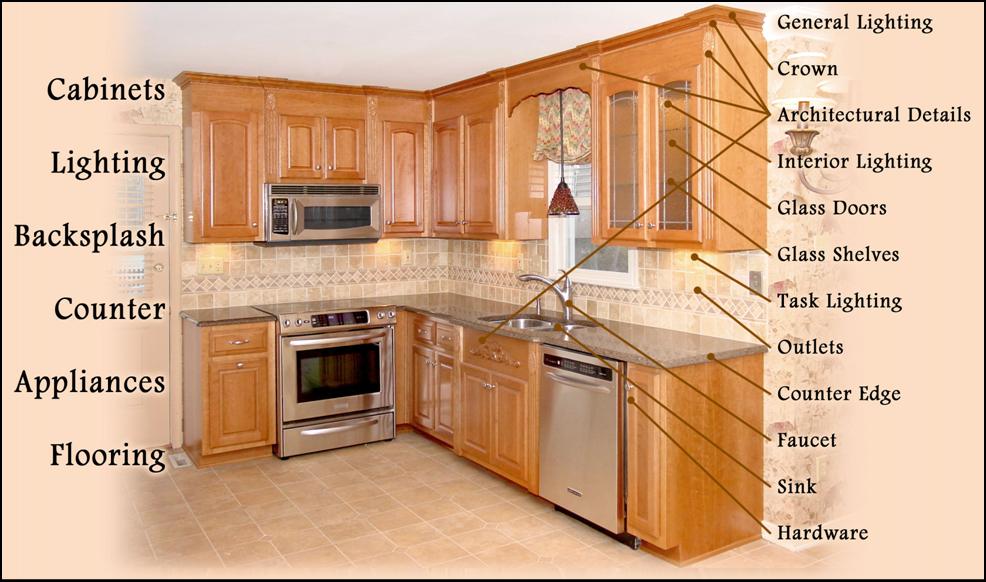
If you want to hang your RTA Kitchen Cabinets with right joints, flush frames and perfectly aligned doors, this guide is just for you.
Since decades, homemakers used to hire professionals to install their kitchen cabinets. But considering the advanced and simplified designs of kitchen cabinets accessible in the marketplace, it’s no longer a difficult task to do it yourself. The main goal is collecting all pieces of cabinets and placing them together to make useful furniture. You need minimal apparatus and no skills to hang the kitchen cabinet at your desired space.
STEP 1 – Planning Ahead:

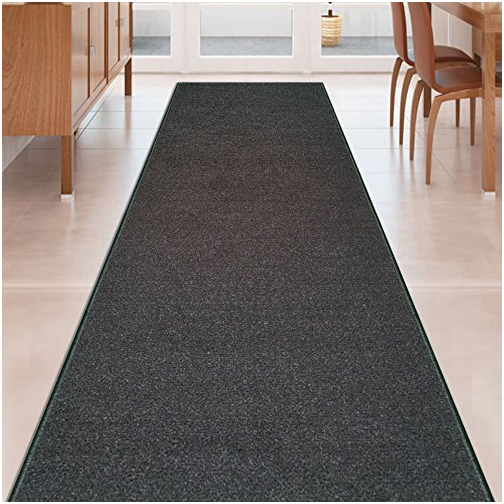
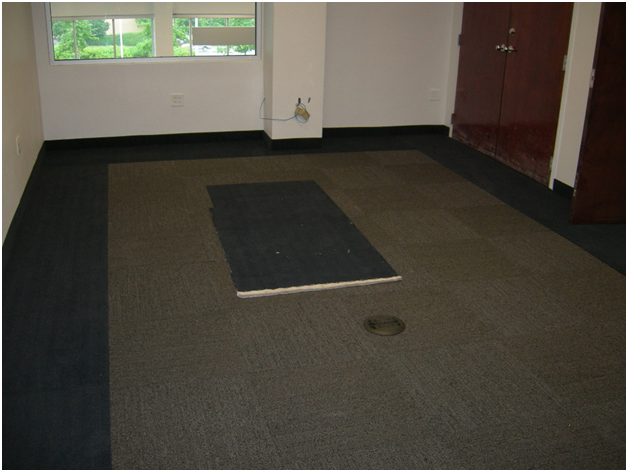
Before hanging the cabinet, lay a wood floor to protect your flooring. This is even more important if you have sheet flooring as it gets damaged easily.
Use a 4-foot level, a straight 2×4 and a framing square to check if walls and corners are plumb, square and straight. There should be no bubbles, dips and angles on the wall. If there are any, deal with them ahead of installation.
Install electricity lines behind the cabinet space. If you have refrigerator, dishwasher or other electronic appliances having lines through the space, make sure to hide the wires in the wall behind the cabinet.
STEP 2 – Mark the Reference Lines:
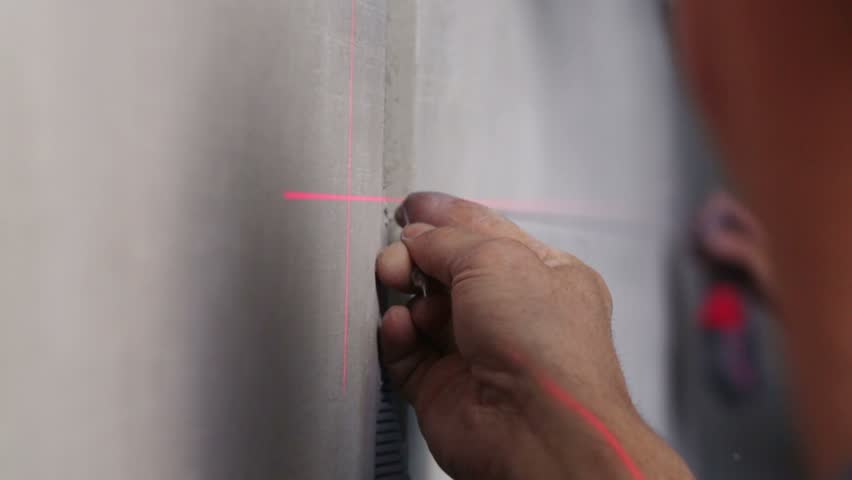
Use a level to mark two points on the wall above 48 inches from the floor. Draw a straight line joining the points using a chalk. Measure the height of the line from a few points to find the high point. The shortest measurement on the line will remain our high point. Highlight this point with a cross mark.
STEP 3 – Mark the High Point:

Measure the height of your base cabinet right beneath the high point mark. This point should remain 34 inches above the floor. From this point, draw a straight layout line along the walls. This line will indicate the top of the base cabinet. Draw a line 18 inches above the layout line indicating the bottom edge of the upper cabinet.
STEP 4 – Join the Upper Cabinets:

Here you will need a pair of extra hands. Ask someone to assist you in positioning the upper cabinet. But before that, remove doors, drawers and shelves to get rid of the extra weight from the cabinet. Label the removed parts to avoid confusion while putting them back in place.
Now, set a 1×3 cleat beneath the layout line. Drive 2-inch screws through the cleat and studs. Repeat this for all lines on the wall. Place all upper cabinets by each other and join them using 2-inch screws.
STEP 5 – Hang the Upper Cabinets:

Put the corner cabinet on the floor and mark its positions on the wall. Now, drill pilot holes on the wall matching with the edges of the corner cabinet. Seek help of someone to lift the cabinet up on the wall and hold it on the cleat. Make sure the cabinet is plumb with the wall. Now drive four 2.5 inches holes on the wall, two on the upper corners of the cabinet and two at the bottom corners. Remove the cleats and fix the cabinet with screws.
After that, lift other cabinets and hold them on the cleats. Align all cabinets together with no space remaining between them. Fix all cabinets using screws.
STEP 6 – Install Corner Base Cabinet:
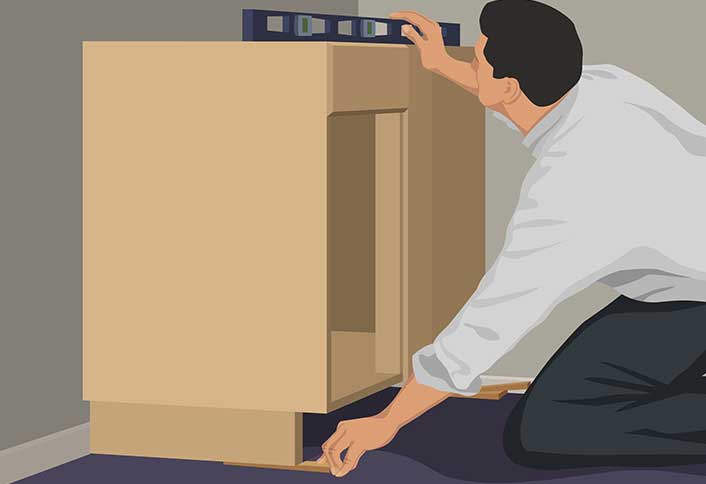
Place the Base End Corner Cabinet on the floor and put shims under it till the back edge meets the layout line. Mark the hole-points on the wall using a pencil or chalk. Now turn the cabinet and drill holes on the marked positions. Put the cabinet back in its desired position and fix it with screws. Use shims to level the cabinet with the layout line.
STEP 7 – Install Remaining Base Cabinets:

Place next base cabinet along the already installed cabinet and use shims to plumb them with each other. Now mark the points to drill holes on the wall. Remove the cabinet from its place and drill 2.5 inches holes. Now put the cabinet back in its position and clamp it together with already installed cabinet. Fix the cabinet with wall using screws.
Repeat this step for all remaining base cabinets. Fill the gaps with shims or trim. Remove the extra material from the cabinets using a utility knife.
STEP 8 – Reinstall Doors, Frames and Shelves:

Once the cabinet bodies are on their appropriate locations, start placing the removed doors, frames and shelves in the place. Since we have marked the removed items in Step 4, finding which part goes where should not be a difficult task. Fix each part at its actual location.
With this, your Kitchen Cabinets are installed at your desired location. It’s quite easy and should not take more than a few hours. Follow this guide step-by-step or Read This DIY Guide if you face any trouble. How was your experience and how do your cabinets look after installation, share with us in the comment box below.